01
Window sill waterproofing
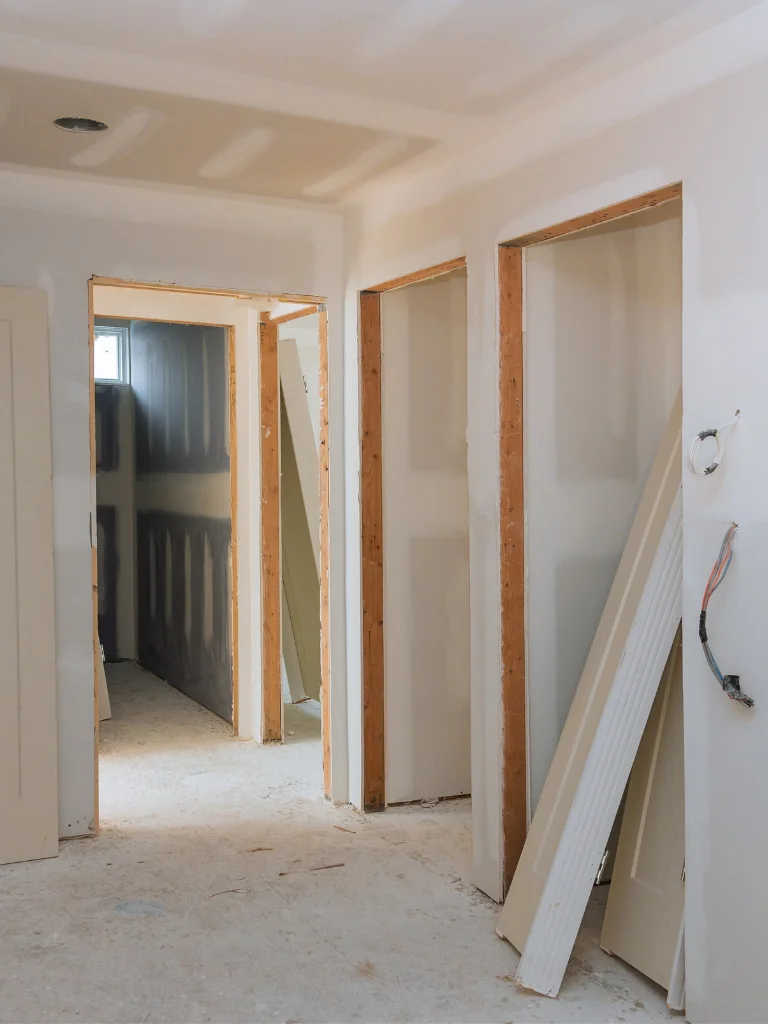
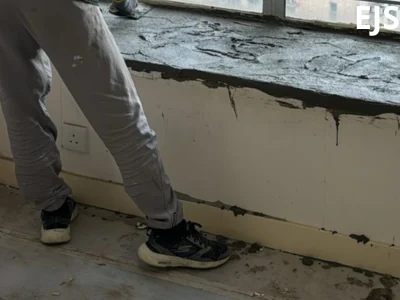
Check the sill substrate, cracks and finishing details to arrange repairs and waterproofing layers.
02 / WATERPROOFING
Understand the seepage. Plan the right response.
Assess visible signs and substrate conditions around window sills, terraces, corners and joints to plan appropriate waterproofing and repairs.
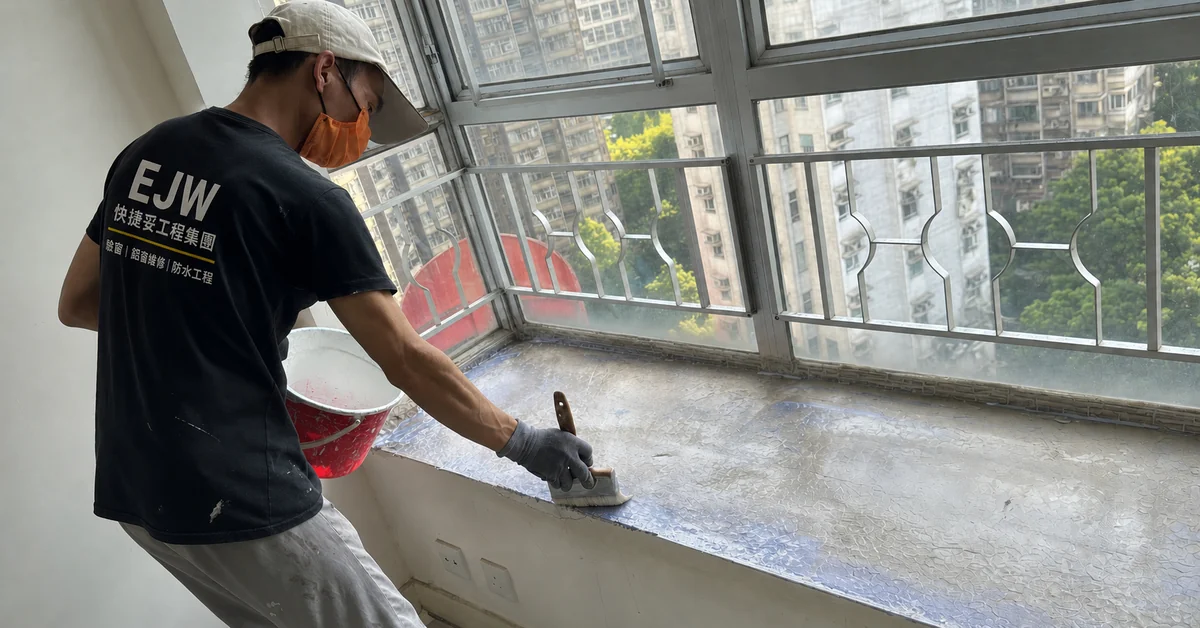
The visible stain may not be where water enters. We consider photographs, timing, weather and site conditions, with thermal imaging and moisture readings where appropriate, before proposing the work.
SCOPE OF WORK
Choose the work your property needs.
The final scope is confirmed after a site assessment.
Check the sill substrate, cracks and finishing details to arrange repairs and waterproofing layers.

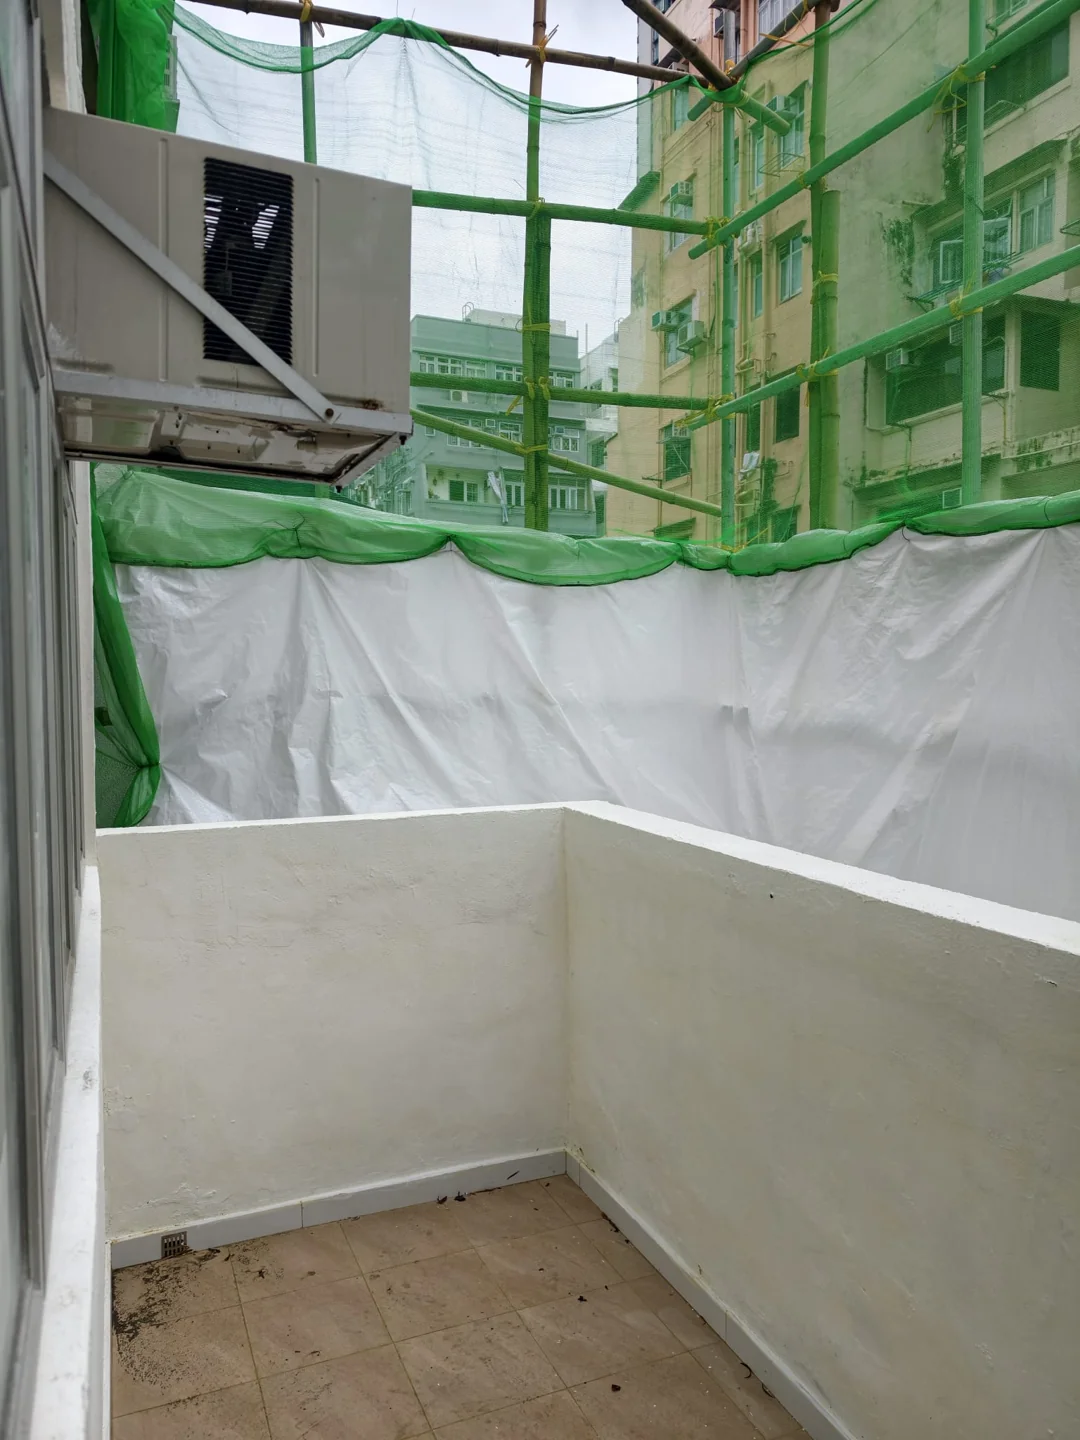
Treat corners, junctions and waterproofing layers according to the substrate and drainage of the roof or terrace. The image illustrates roof waterproofing.
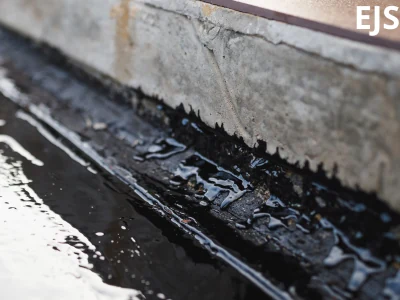
Assess ageing joints and possible water paths, then plan sealing and repairs around the materials and conditions on site.
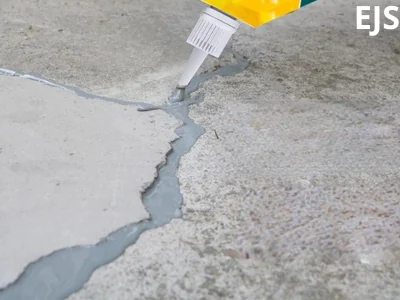
Remove loose material, clean and repair the surface to prepare a suitable substrate for waterproofing.
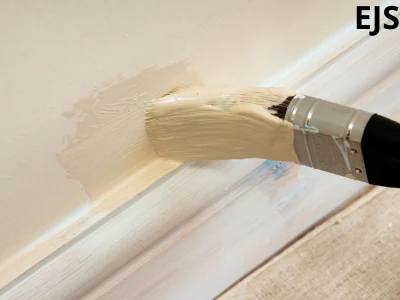
Arrange painting and finishing after the relevant problems and substrate have been addressed.
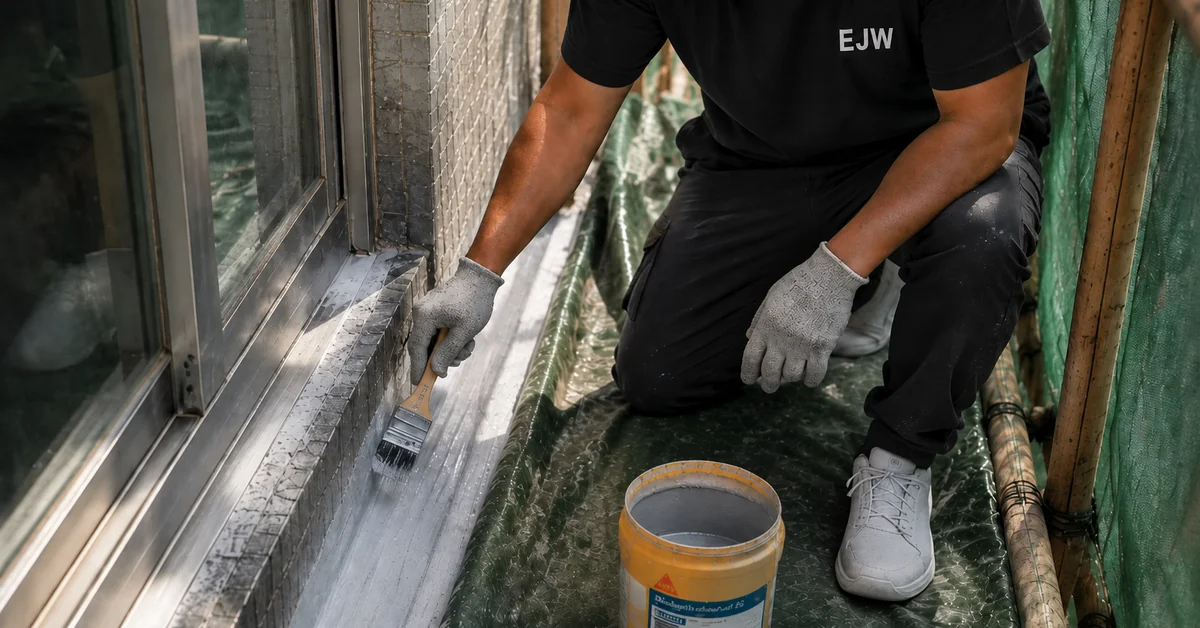
Assess scaffolding or other means of access according to the work location, then confirm the arrangements required.
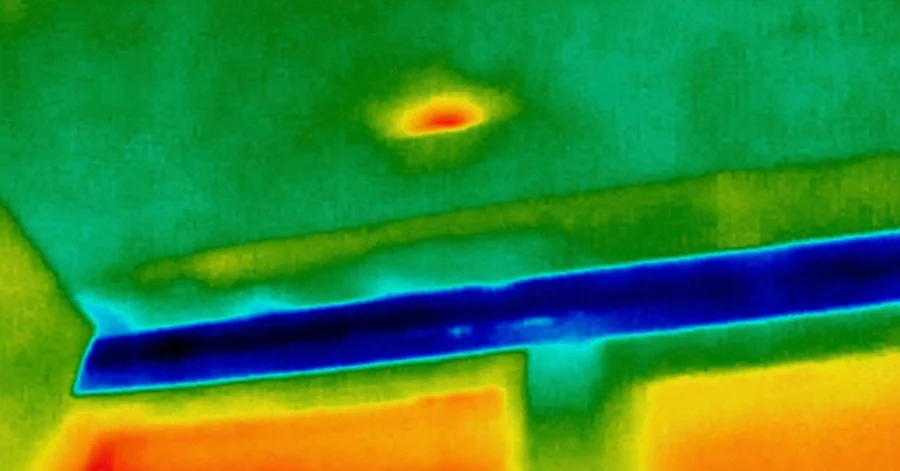
ATTENTION TO THE DETAILS
Supporting tests help gather information, but findings must be considered alongside the weather, materials, location and use. A thermal image alone cannot confirm the source of seepage.
STEP BY STEP
From the initial assessment to work on site,
keep the scope, programme and responsibilities clearly defined.
Assess seepage marks, possible water paths and working conditions.
Clean and protect surrounding areas, and address loose material and cracks.
Arrange primers, waterproofing layers and finishing in accordance with the selected materials.
Inspect the work area, restore finishes where needed and arrange follow-up.
WINDOW SILL / 5 STEPS
Swipe to explore the work stages
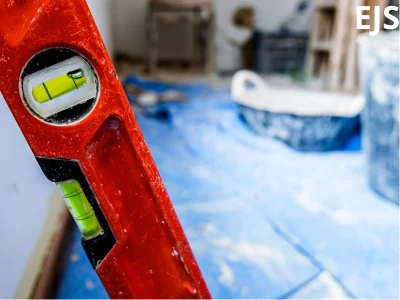
Review the sill condition, define the work area, and clean and protect surrounding surfaces.

Remove loose material and debris, then confirm the substrate is suitable for the next stage.
Inspect cracks and junctions, and arrange repairs suited to the substrate and selected materials.
Install the waterproofing system, restore the substrate where required and allow for the specified curing.
Check the work area and arrange painting and finishing when the substrate is ready.
ROOF & TERRACE / 3 STEPS
Swipe to explore the work stages
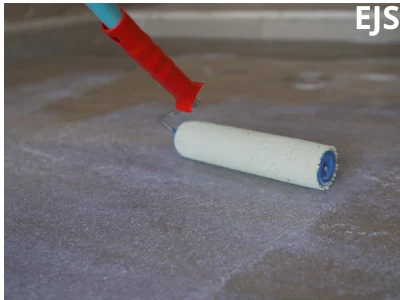
Prepare the substrate and apply the base layer required by the selected waterproofing system.
Inspect corners, cracks and material junctions, arranging repairs and reinforcement where required.
Apply the selected system, allow for curing and carry out completion checks.
Images illustrate the work stages. Actual methods and materials depend on the substrate, site conditions and selected waterproofing system.
BEFORE WE BEGIN
Include close-ups of the affected area, a wider view of the wall or sill, and marks after rain. Explain when the problem appeared and whether repairs have been attempted.
They provide supporting information and must be considered with site conditions, weather and construction details. We assess the inspection approach needed for each case.
This depends on the location, scope and available access. We will explain the arrangements after assessment.
They depend on the substrate, location and selected system. The scope, materials and any applicable warranty terms are those stated in the formal quotation and project documents.
RELATED SERVICES